Tuesday, November 22, 2011

Spray Paint, Your Best DIY Friend

Spray paint has come a long way since the huffer's of 1980 gave it such a bad rap.  Spray paint is a thrifter's best friend! From lamps, to chairs, to picture frames and beyond, you can make the most hideous object beautiful! 

I LOVE spray paint. This particular lamp was given to me by my grandmother and holds sentimental value for me. Before I spray painted it, it was some lovely mixture of peach, lime green and blue flowers. Very 1970's earth mama. So, I did what I do best, opened a can of my favorite spray paint, taped off the metal petals parts and went to town.

The lamp shade leaves something to be desired, but that's another post!
  
 Here's a wooden sconce I found at Value Village (a local thrift store) and spray painted it, and it's matching friend, white.
 I found a similar ones with double candles and used some of that pretty green again.
 My mother found these beautiful pillars at a garage sale.  They were originally a forest green and gold and after a couple coats of my trusty green, I was in love.
Do NOT be afraid of spray paint. It's super easy to use. Just make sure that your project is clean and dry and be sure to tape off any parts that you don't fancy being painted. It can transform an old ugly lamp, some odd colored mirror, or even a picture frame and bring it to 2011!

Monday, November 21, 2011

DIY Christmas Gift Ideas

Alrighty MOPS of West Salem, this one is for you! Are you ready for some gift ideas? I've got just a few...  These are all gifts I've made in years past... The first one we have is an ornament. Pretty simple, all you need are: 
  • some pretty balls (sorry, I'm a 12 year old girl and just giggled a little)
  • some foam stickers (I chose glittery red ones)
  • Glitter glue
  • Glitter
  • Fancy (or not) ribbon

 Use your stickers to write out the name of the recipient on the ornament, make some fancy (or not) shapes with your glue and pour the glitter over the top (make sure you have something under it to catch all the extra glitter, or you might be cleaning up glitter for many moons). And when it's all dry, add your ribbon!
 Another fun project is to take some old frames, fancy them up, and add your kids' photos. Always a winner for grandparents. You will need:

  • Frames
  • Mod Podge
  • Old magazines
  • Scissors
  • Pictures of your kids
So first things first, sit and go through your magazines and cut out anything that fits your kid. In Tatum's case (my little on the far left) she LOVES pink, so I just started cutting out chunks of pink. As I was going, I would keep each kids name in mind and cut out letters as well as cute little sayings.

 No start mod podging. There's no rhyme or reason to it. No right or wrong way. As long as the paper wraps around to the back and covers the sides, you're good to go.


 Here's a project for the quilter, or even the NON-quilter. I made one for my mom and one for my husband's mom and I've never made any more quilts. TOO much work for this tired Mama. Again, you don't have to use a quilt, you can just use a blanket that you buy from the store. The key to the gift is the foot prints. No one can resist a cute little baby footprint!
 You can use extra fabric, scrap fabric, an old sheet, really any fabric. The hardest part of this project is getting your kid's feet covered in paint and getting them to put their feet nicely on the fabric. Do many takes. If you do enough, you're bound to find some prints that actually look like feet and NOT blobs. I found the easiest way to do this is to have your kid sit in your lap on the floor (laminate, or otherwise washable) and do multiples of one foot. Wash. Repeat.

After your footprints dry, cut them out and iron them onto fusible wonder under. This stuff is awesome and everyone should ALWAYS have it on hand. If you follow the directions, it fuses to the bottom of your footprints, you peel away the paper backing, place them where you want on your blanket, iron them again, and they fuse to your blanket. It's THAT simple. Love it. I also like the hand sewn look, so I went ahead and used some embroidery floss and stitched around each footprint. A little time consuming, but worth the effort.

These went over so well, every time I have a kid that starts walking I have to snatch the quilt from the grandparents' houses, add a child's footprints, rewrap and regift for Christmas!
 Speaking of little kid footprints. This was a pretty simple gift for my husband. I bought a cheap tee at Walmart, used some white paint and did my daughter's footprint and my son's handprint. I added a little "rad dad" and $5 later, done.

 Another alternative to the rad dad shirt, was the dress shirt. I literally had one child use their feet and walk all over the side of the shirt, waited for it to dry, then had the 2nd child do the same with a color only slightly darker. Made for a cool effect, and you can only tell they're footprints if you look really closely for toes!
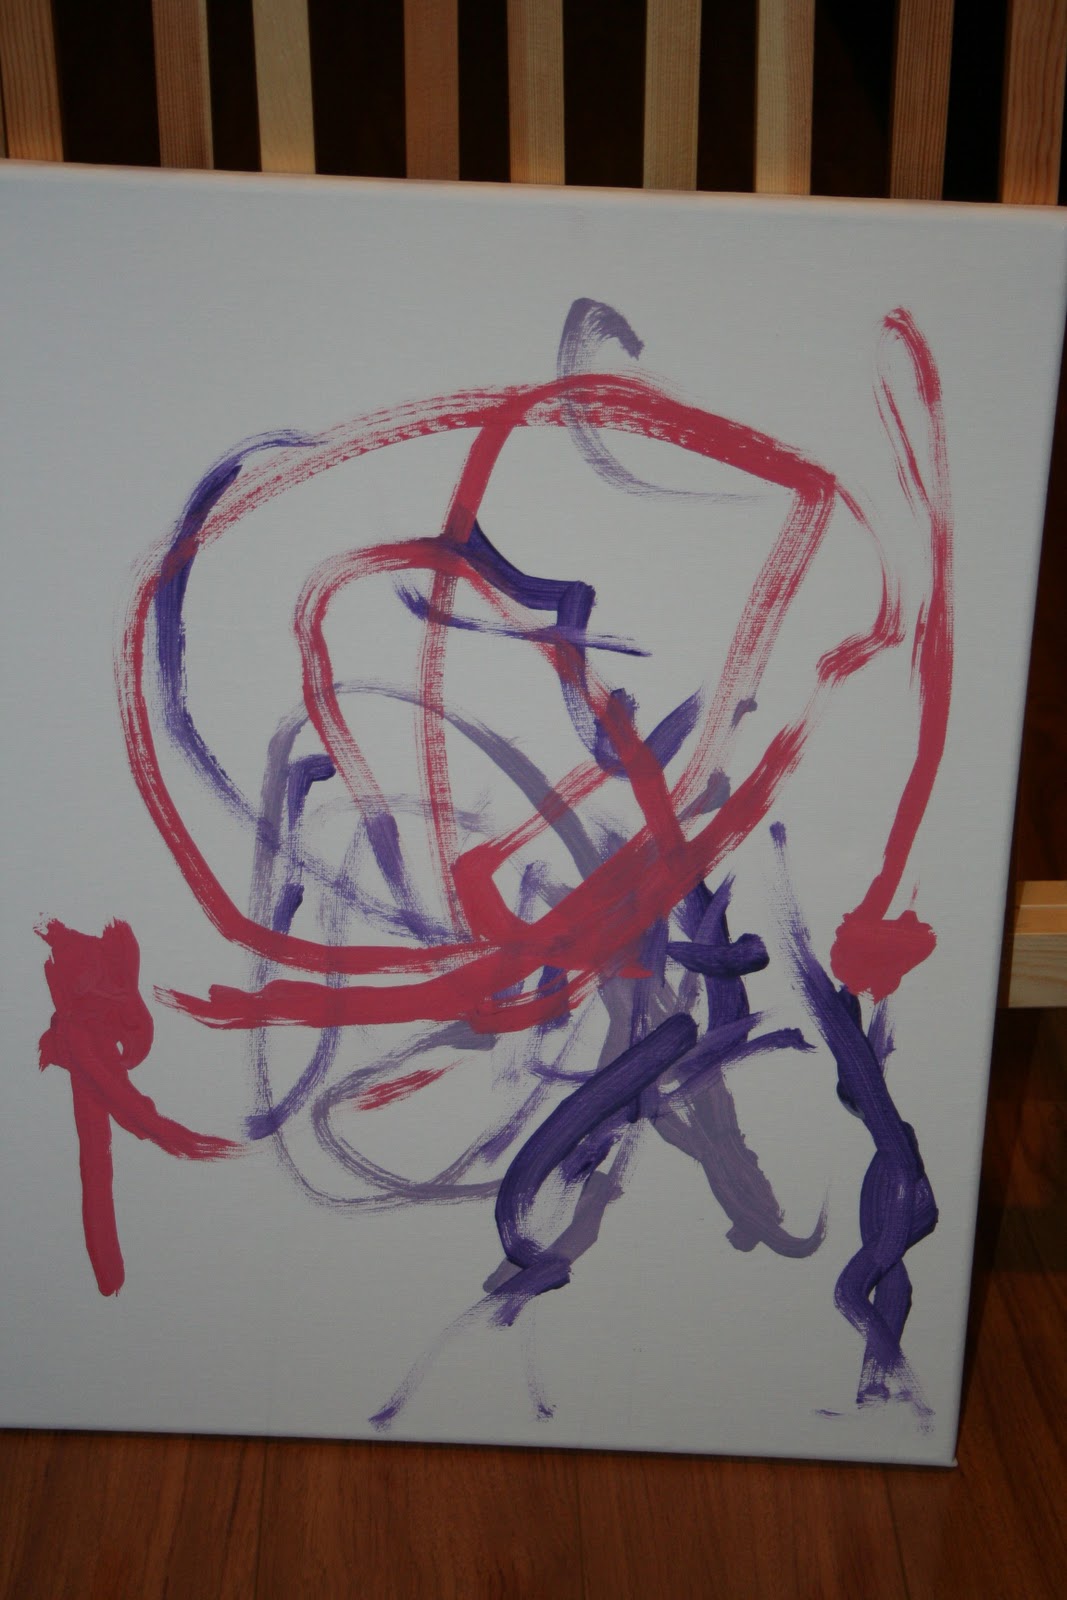
My kids LOVE to paint. Abstract art is still art right? So no matter the age, give your kids a canvas and a paint brush. If you're super anal like me, you can give them one color at a time and let it dry in between. Right before Tatum was born, Spencer painted a canvas for himself and one for his new baby sister. Right before Lucy was born, Tatum got to paint one for her baby sister... This is hers:
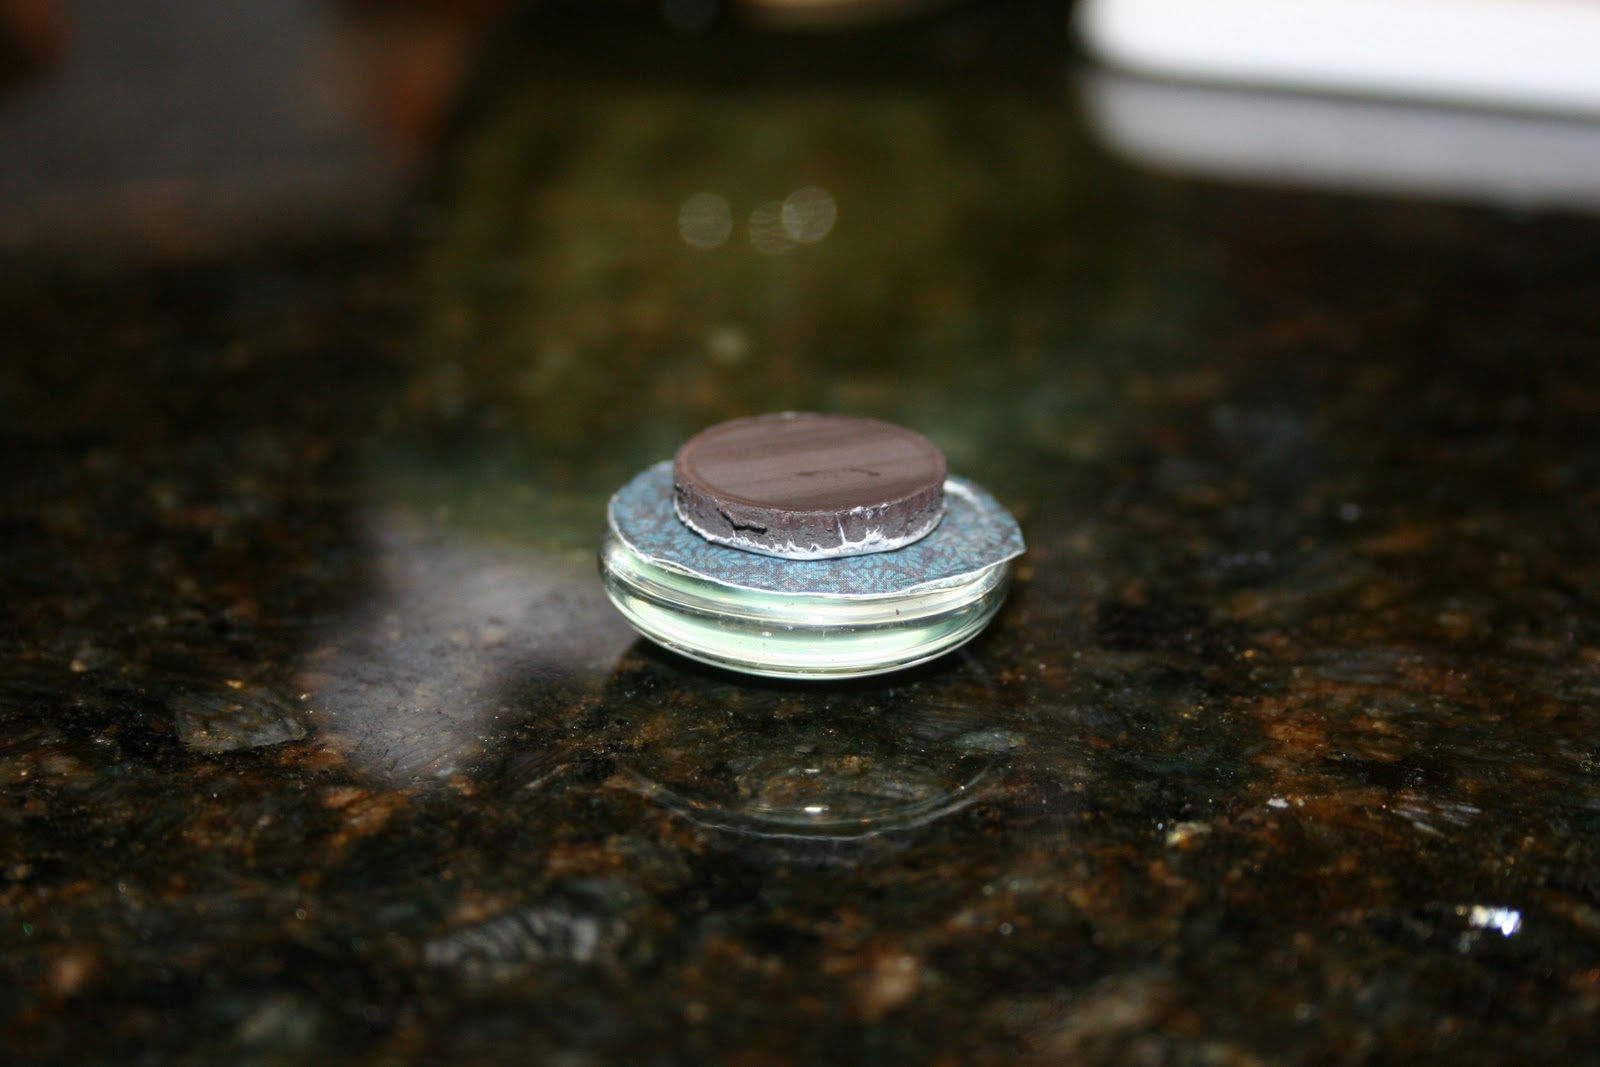
One last gift project is the ever popular pretty magnet. Very simple. All you need is:
  • Mod podge
  • Pretty paper OR wee photo of your child or someone equally important
  • Scissors
  • Self Adhesive magnet
Mod podge your glass piece onto the top of the paper. Let dry. Cut around the edges. Add a self adhesive magnet to the back and you're done!


Make multiple ones from the same or different paper and put in a pretty gift box!

Thursday, November 17, 2011

Custom Letters

I am so excited you're here! If you have become as obsessed with Pinterest as I have, then you will love this project. I keep seeing all sorts of really cool decorated letters for your home. Here's an example of some awesome scrapbook paper covered letters I found. 
I LOVE these letters, but I have a slight problem. I'm cheap. And wood, well, it's expensive. So, I have come up with a solution! It's cheap, it's simple and here are the supplies you'll need:

  • Some old cardboard box (this one is so old, I've used it a time or two to spray paint stuff on).
  • Pretty scrapbook paper (I found mine in the clearance section at Craft Warehouse).
  • Mod Podge (Or any type of spray adhesive, even Elmers would probably work).
  • Scissors
  • Sharpie
  • Paint brush (for the glue)
  • Self healing cutting board or something you feel comfortable cutting on.
  • Exacto knife
  • Scraps of ribbon
So first things first... You can use a stencil, or you can use your imagination. For whatever word you want to have hanging on your wall (I wanted to use the word welcome) draw out individual letters with your sharpie. As you can see with my "e" it wasn't perfect. It doesn't have to be. In fact, the less unified, I think the greater the outcome.
 You can use your scissors or an Exacto knife on your self healing board to cut the letters out.
 If you use the Exacto knife, like I did, it's easiest to cut out one side, flip it over and score the backside as well, then it pops out really easy.
 The next step is picking paper for each letter. Pretty simple.
 Paint on your mod podge, elmers, or use spray adhesive. If you choose spray adhesive, make sure you go outside where it's well ventilated and follow the instructions on the can. I chose mod podge.
 Simply paint the FRONT side of your letter. Make sure you cover it completely.
 Flip that sucker over and adhere it to your scrap paper. Make sure to cut a small piece of ribbon to fit in between the paper and the cardboard before it starts to dry so you'll have something to hang it up with.
 Here's my lovely W drying. I also put a heavy book on top of my letters as they dried because the cardboard has the tendency to want to pull away from the paper as it dries. After it's dried, probably 10-15 minutes later, you can go back with your Exacto knife and self healing board and cut out your letters. The beauty about this part is that if your cardboard cutouts aren't exactly perfect, you can adjust accordingly as you cut them out. I know I didn't exactly love the shape of some of my letters so I just cut them a little bigger than the cardboard.
 Voila.
 As you can see, my "w" isn't the same color as what I cut out. I got it on the wall and realized the paper I picked was far too close to the same color as my wall. Easy fix though! I just went back and glued another piece of scrap paper over the first one.

And there you have it, a personalized, super easy and cheap sign. You can make your kids' names for their rooms, a welcome sign, the alphabet, the possibilities are endless. Now go. Create.