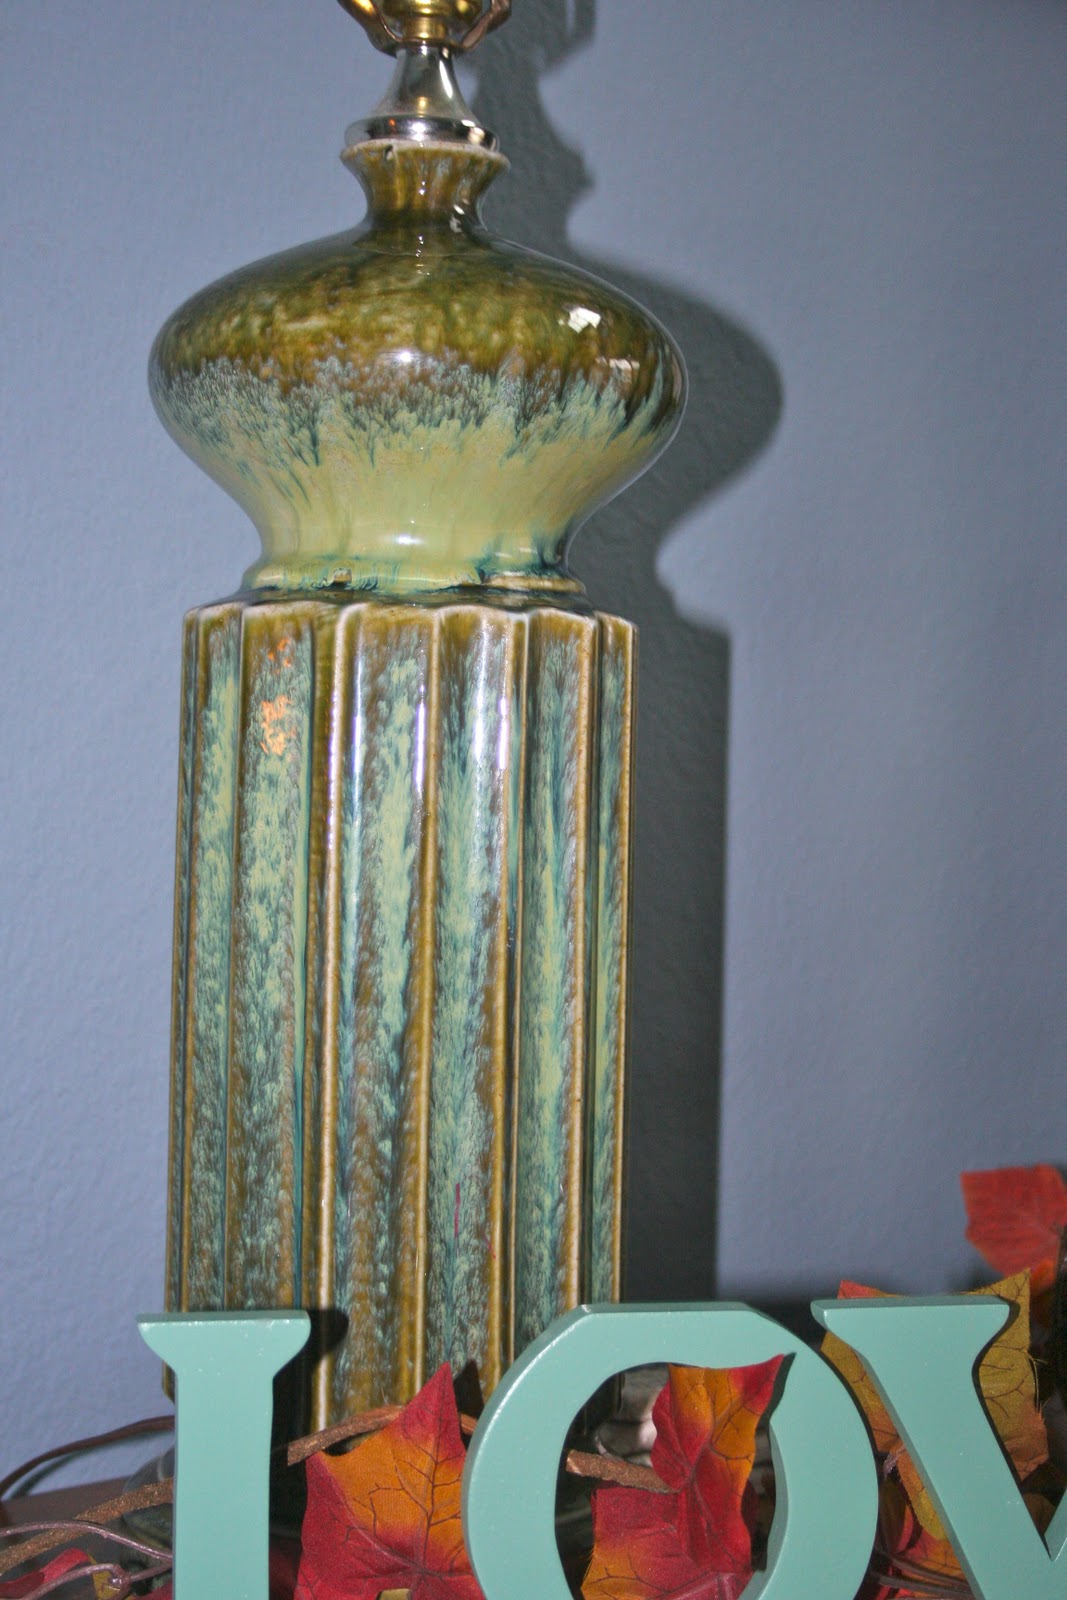
I absolutely adore this lamp. My Grandma gave it to me a few years ago when I first got married and I could never bare to part with it.
Look at the beautiful glaze work on this sucker. So pretty, I have modeled most of my decor after the green and teally blues in this lamp!
BUT, the lampshade leaves something to be desired. It's tired, it's old, and it needs some help. AND you canNOT find these big drum lampshades anywhere except at a second hand store. So, naturally, I've decided to give this shade a little make over.
For this do it yourself project, all you need is:
- Some fabric, old, new, doesn't matter. I chose some super wickedly cheap muslin that I already had laying around. -You can also use ribbon! I have an orange shade that I love the color but don't like the texture. So I'll be doing this project on that shade but with some transparent white ribbon...
- Scissors
- A few glue sticks and your trusty glue gun.
- A sewing machine
First things first, pick a width for your fabric strips. Doesn't matter the size. The bigger, the less time it's going to take you to complete. The smaller, the more ruffly cute. I chose around 3 inch strips.
Just cut an initial notch in your fabric.
Then take that notch AND...
Rip it.
You're left with a completely straight strip of fabric with some strings hanging off of it that gives it some fantastic character. Take note that this ripping technique ONLY works on certain fabrics, mostly cotton. Satins, silks- not gonna work.
Continue cutting and ripping through your fabric. I honestly don't have a clue as to how much fabric I used. If I were to guess, I'd say maybe half a yard?
Now what you're going to do is put your sewing machine on baste. If you don't know what that means, it's just a fancy word for the widest stitch you have.
NOT that you'll be continually pouring sauce over your fabric as it cooks.
DON'T backstitch when you start or when you end.
Leave enough length of thread at the end that you can grab it and pull it to gather it.
Once you have the amount of gathering you like, then tie a knot at one end. Make sure the gathers are somewhat even throughout and tie off the other end as well. Cut as many loose threads as you desire.
Now is the fun part. Lay down a line of glue at the base of the shade.
Start gluing your ruffles to your lampshade. Once you get all the way to the end, start a new row. Keep going until your lampshade is completely covered. You can space these as close or as far apart as you like. It's not too scientific.
The end result is a fantastic new lampshade that would've cost you $30+ that you made yourself. I don't know about you, but I'm pretty happy with mine! Now, the lampshade is just as beautiful as the lamp.